|
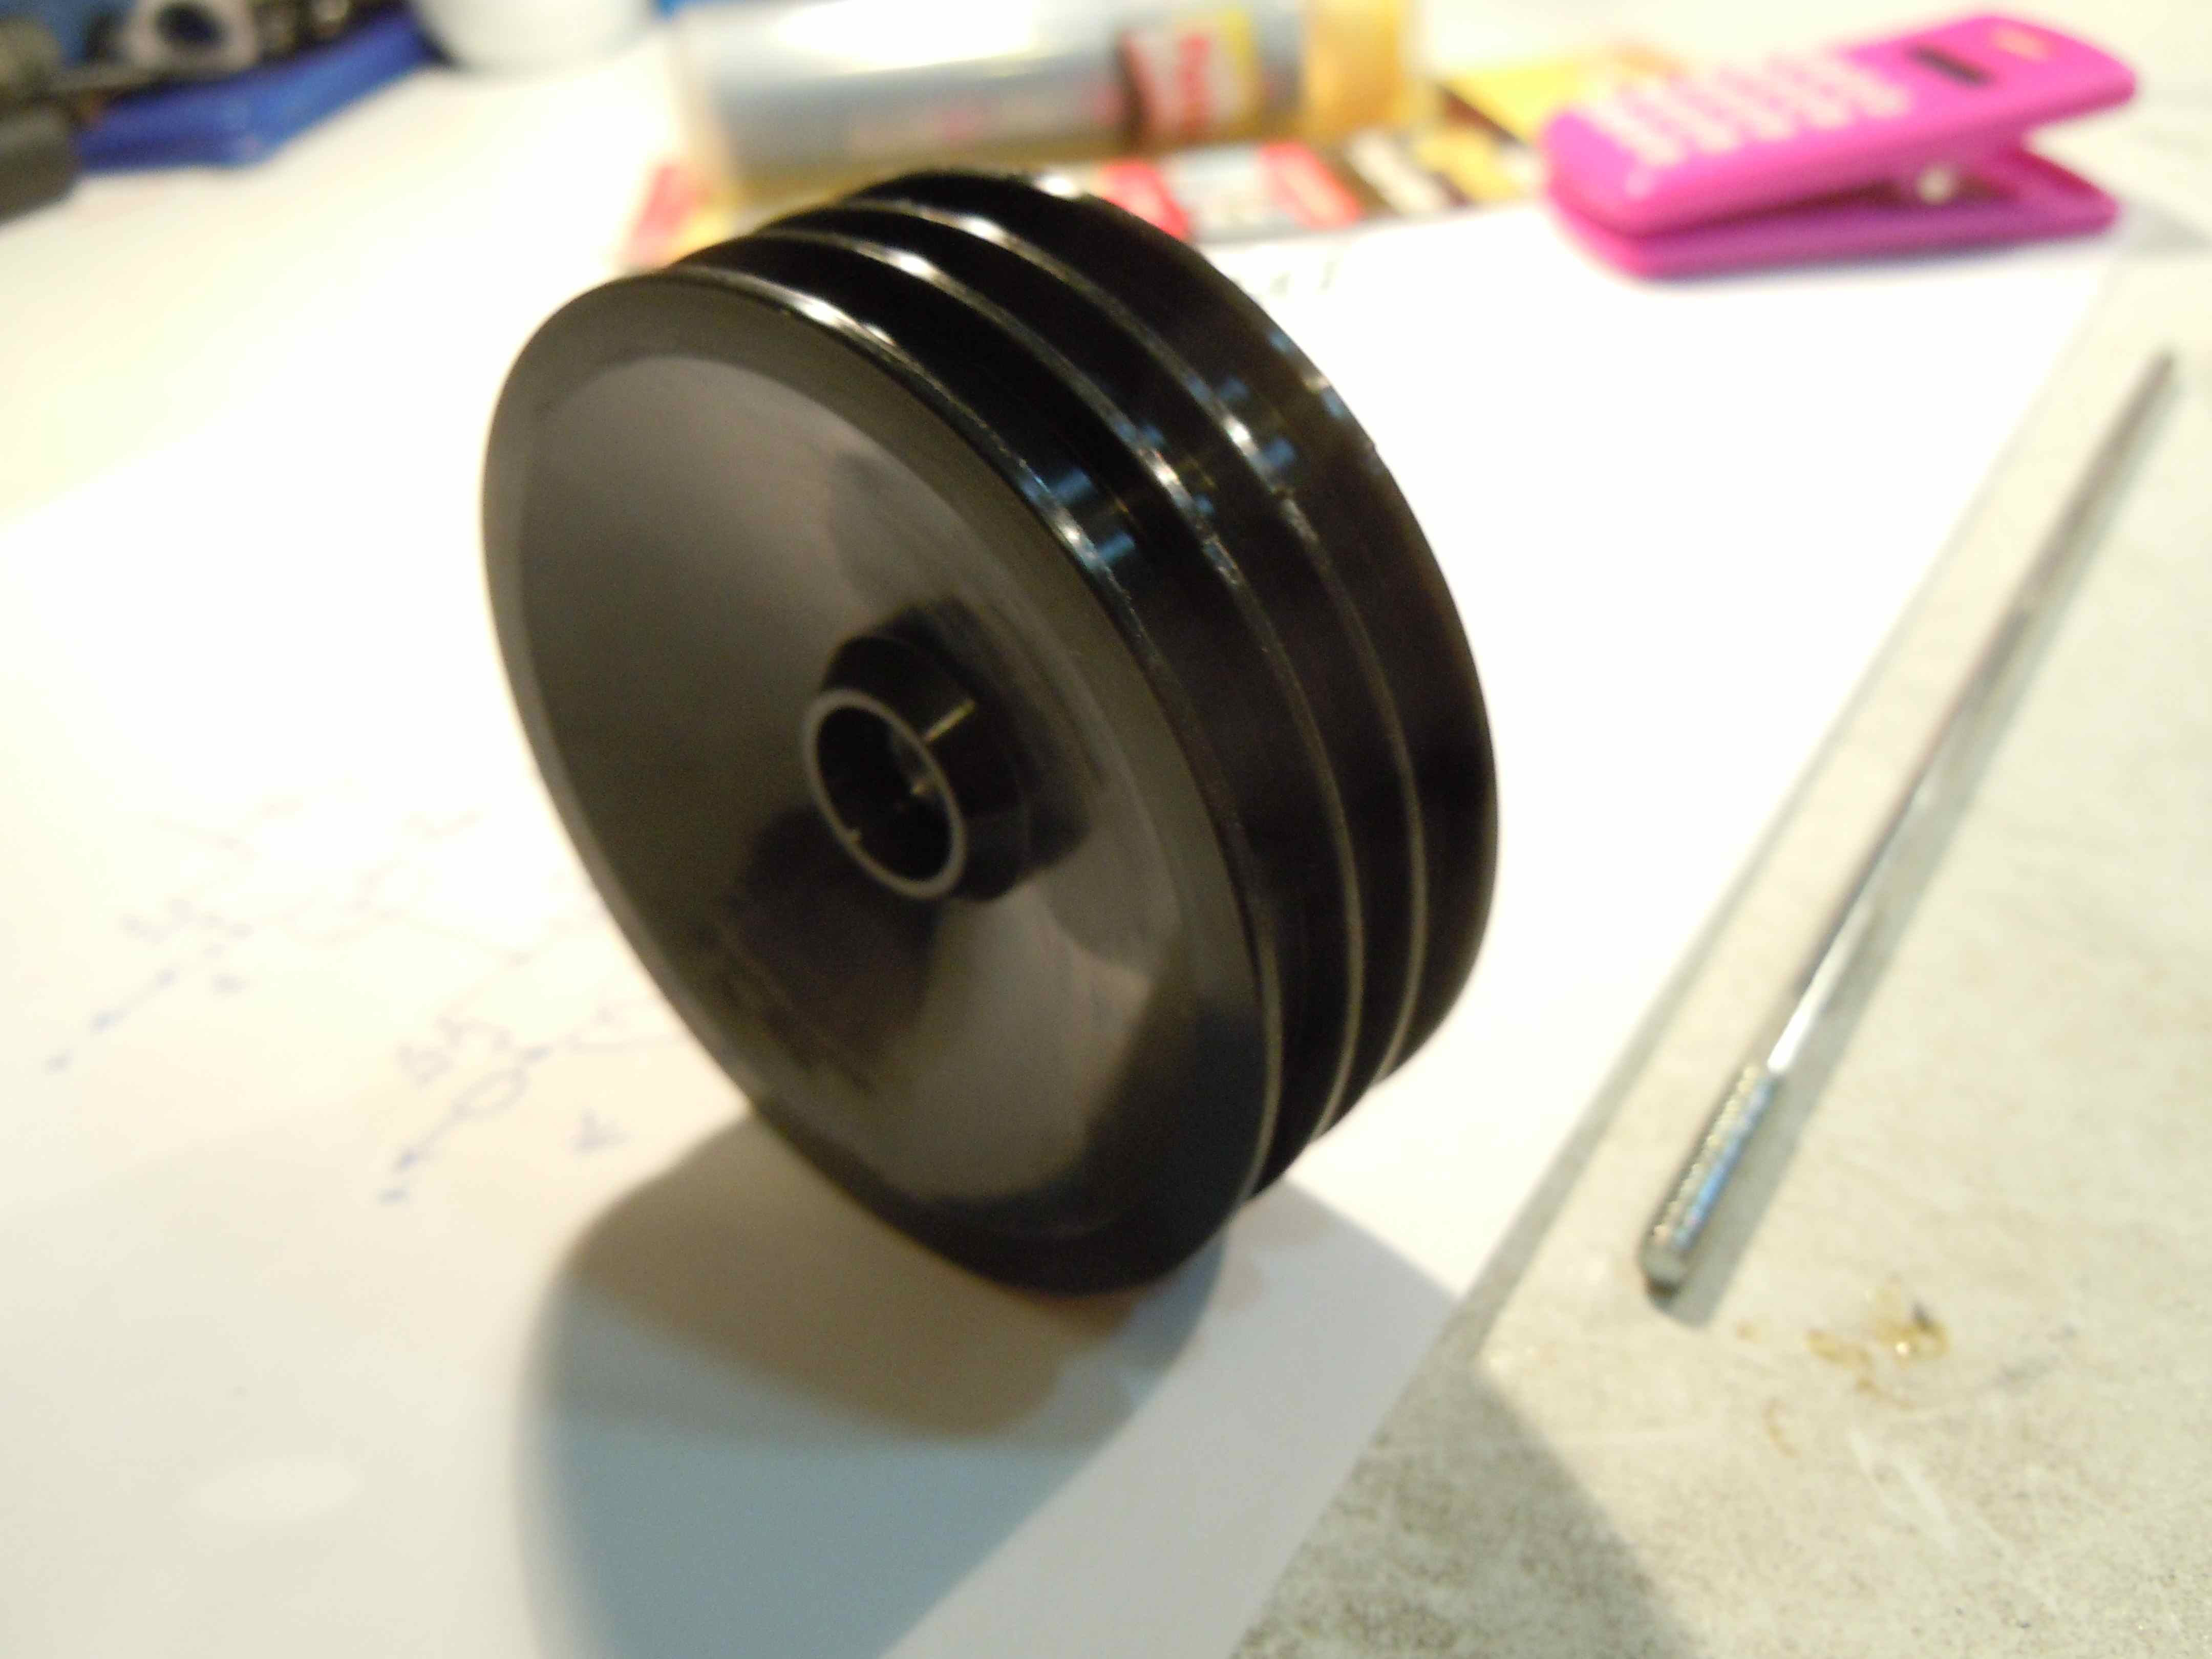
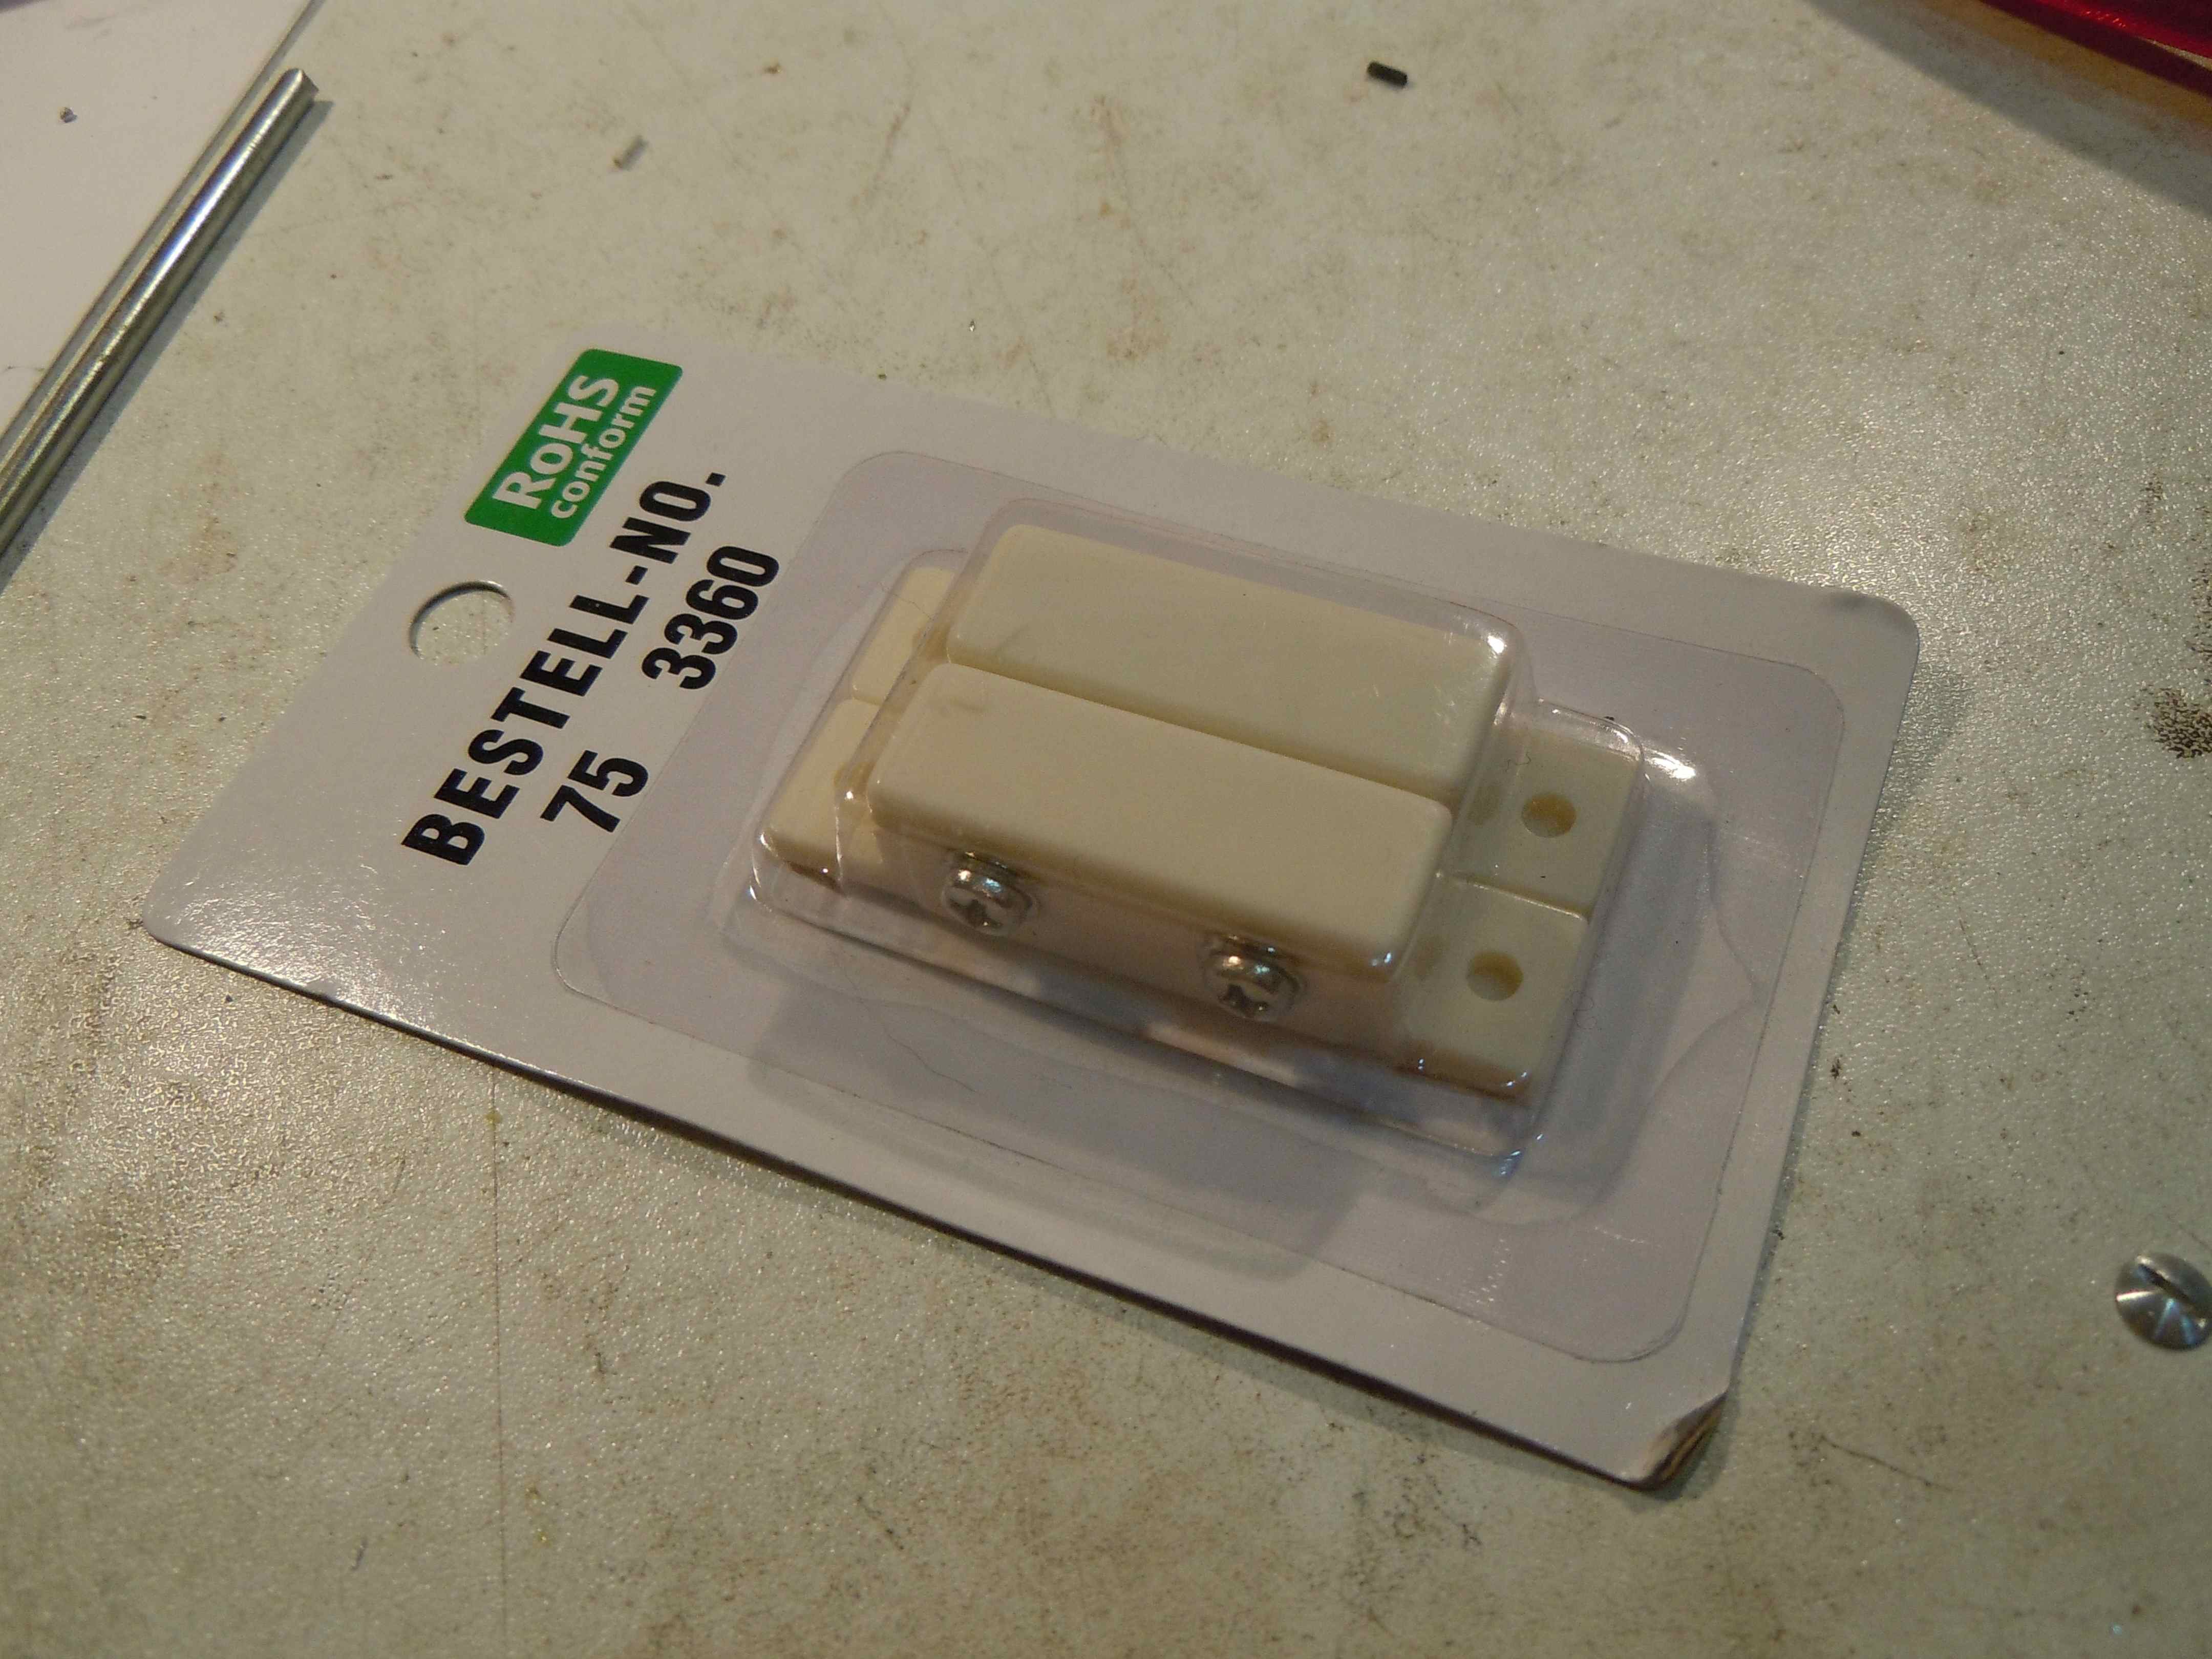
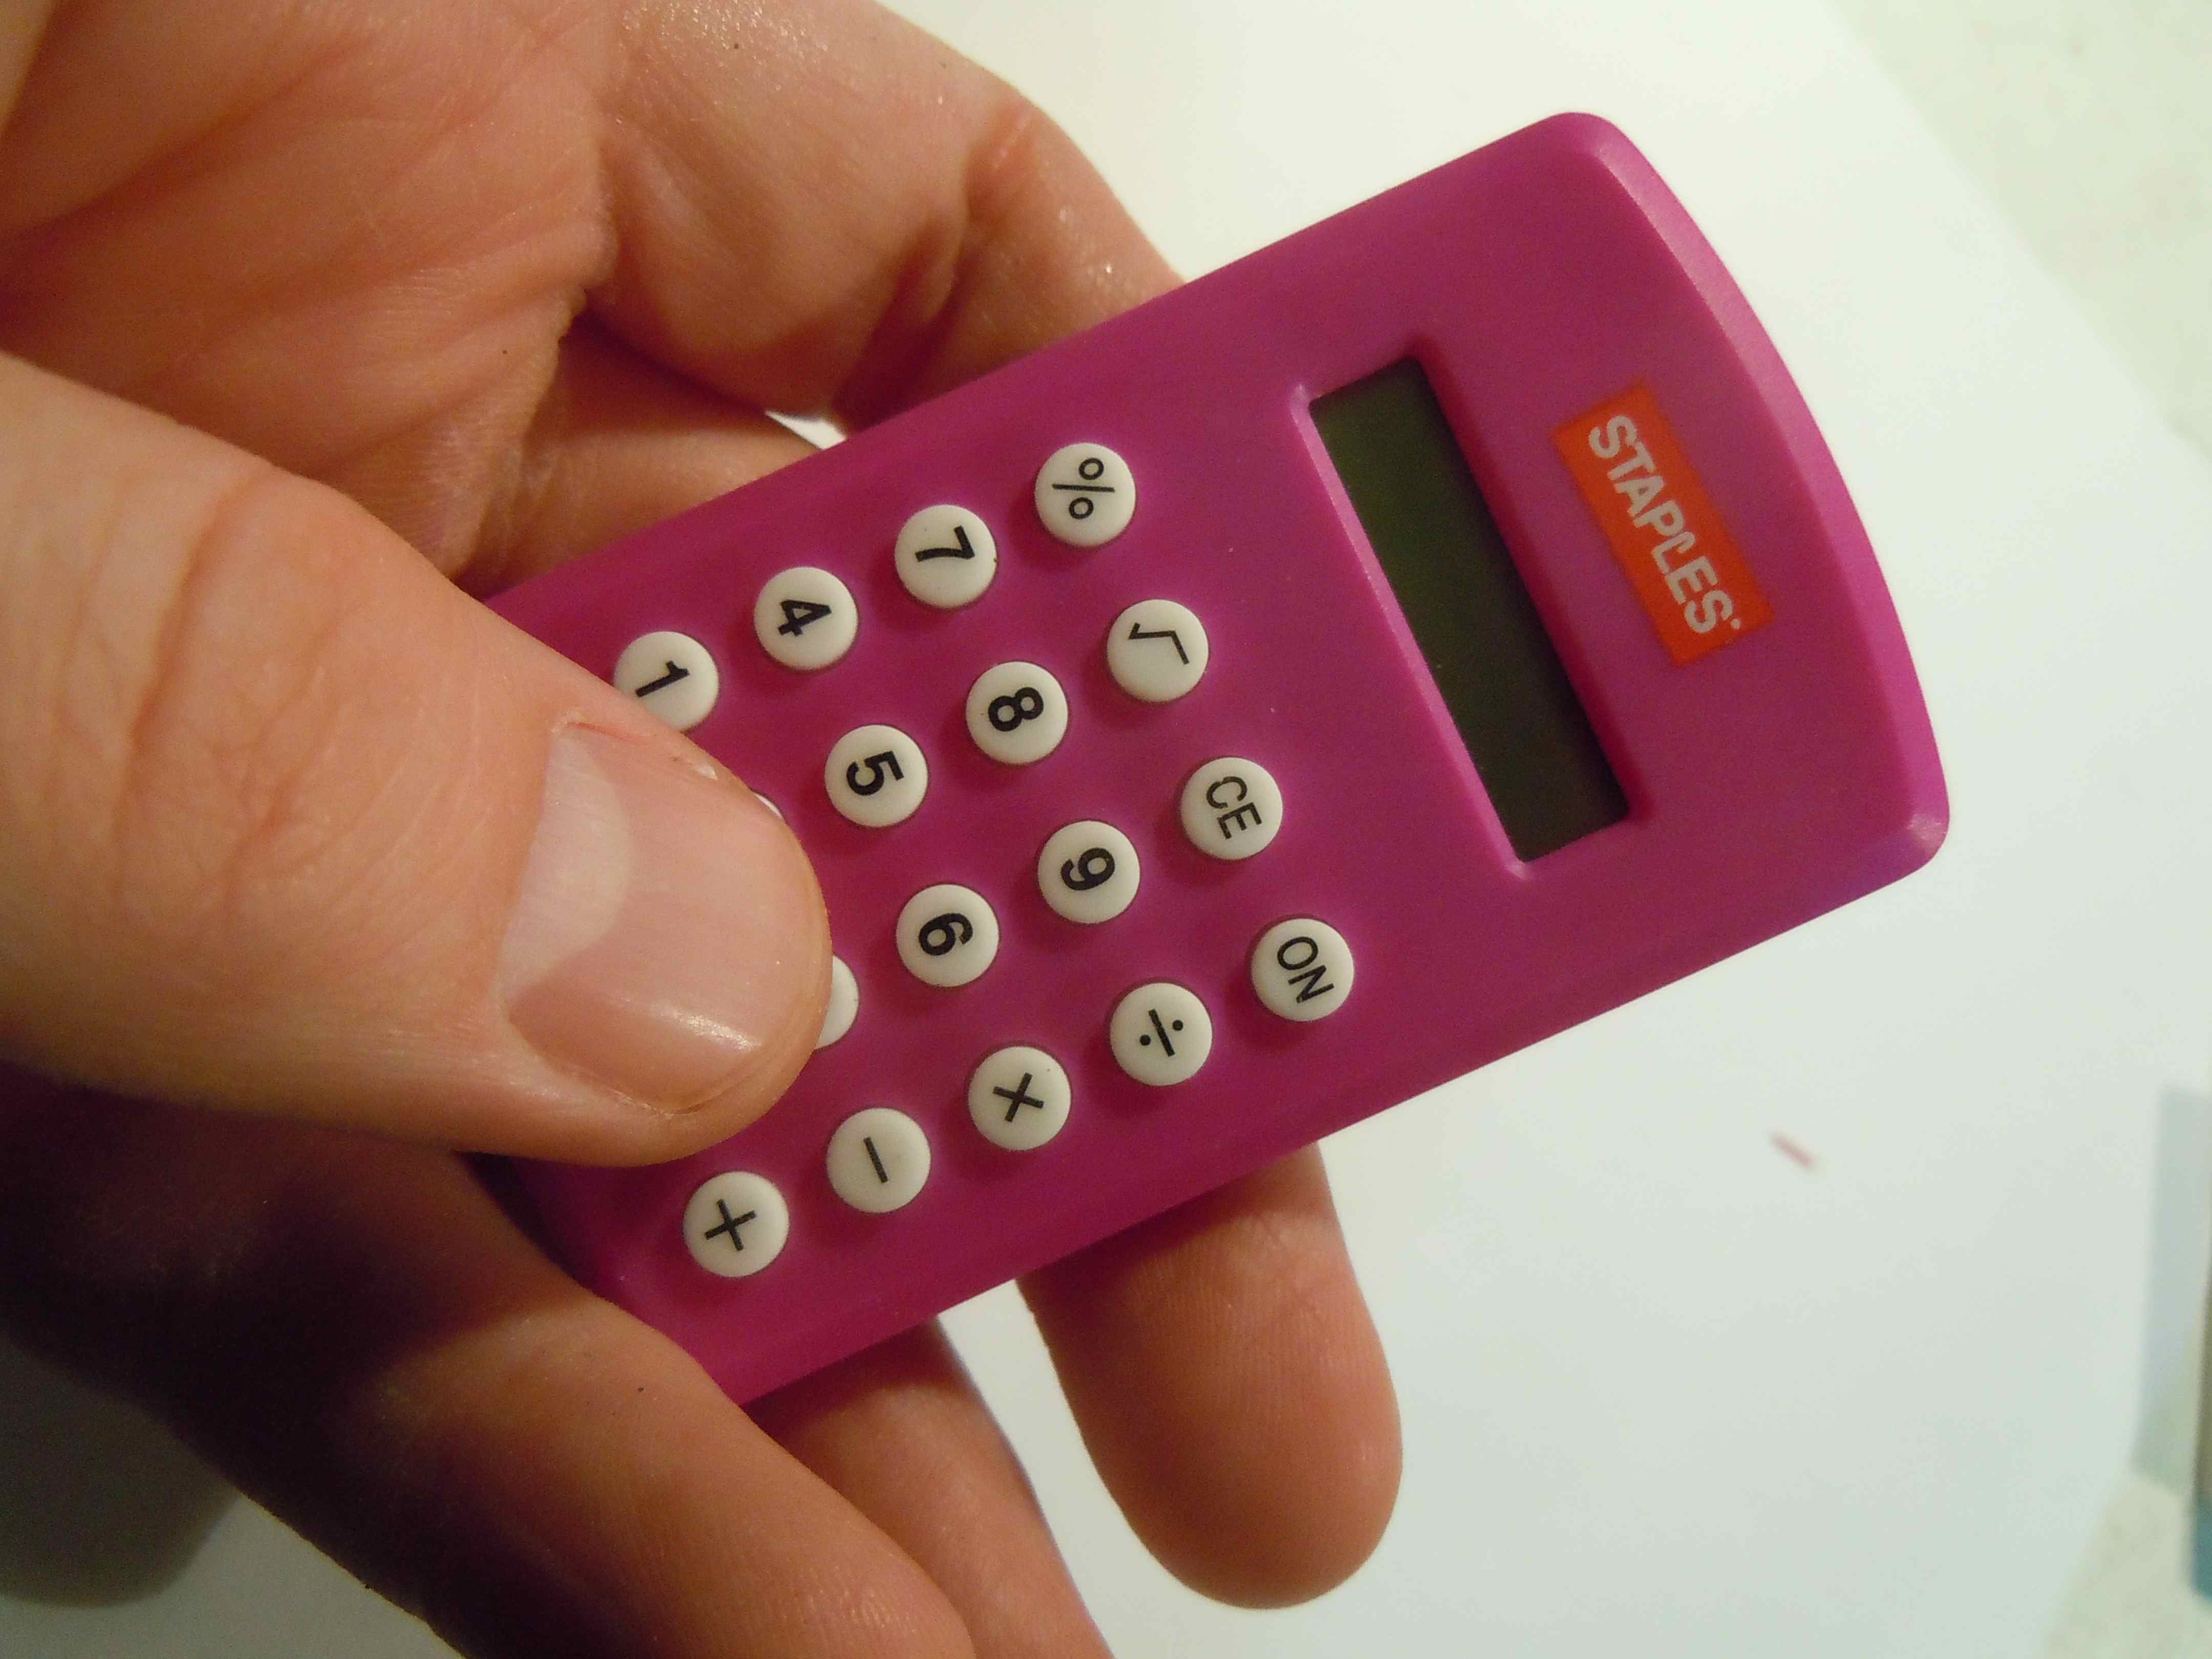
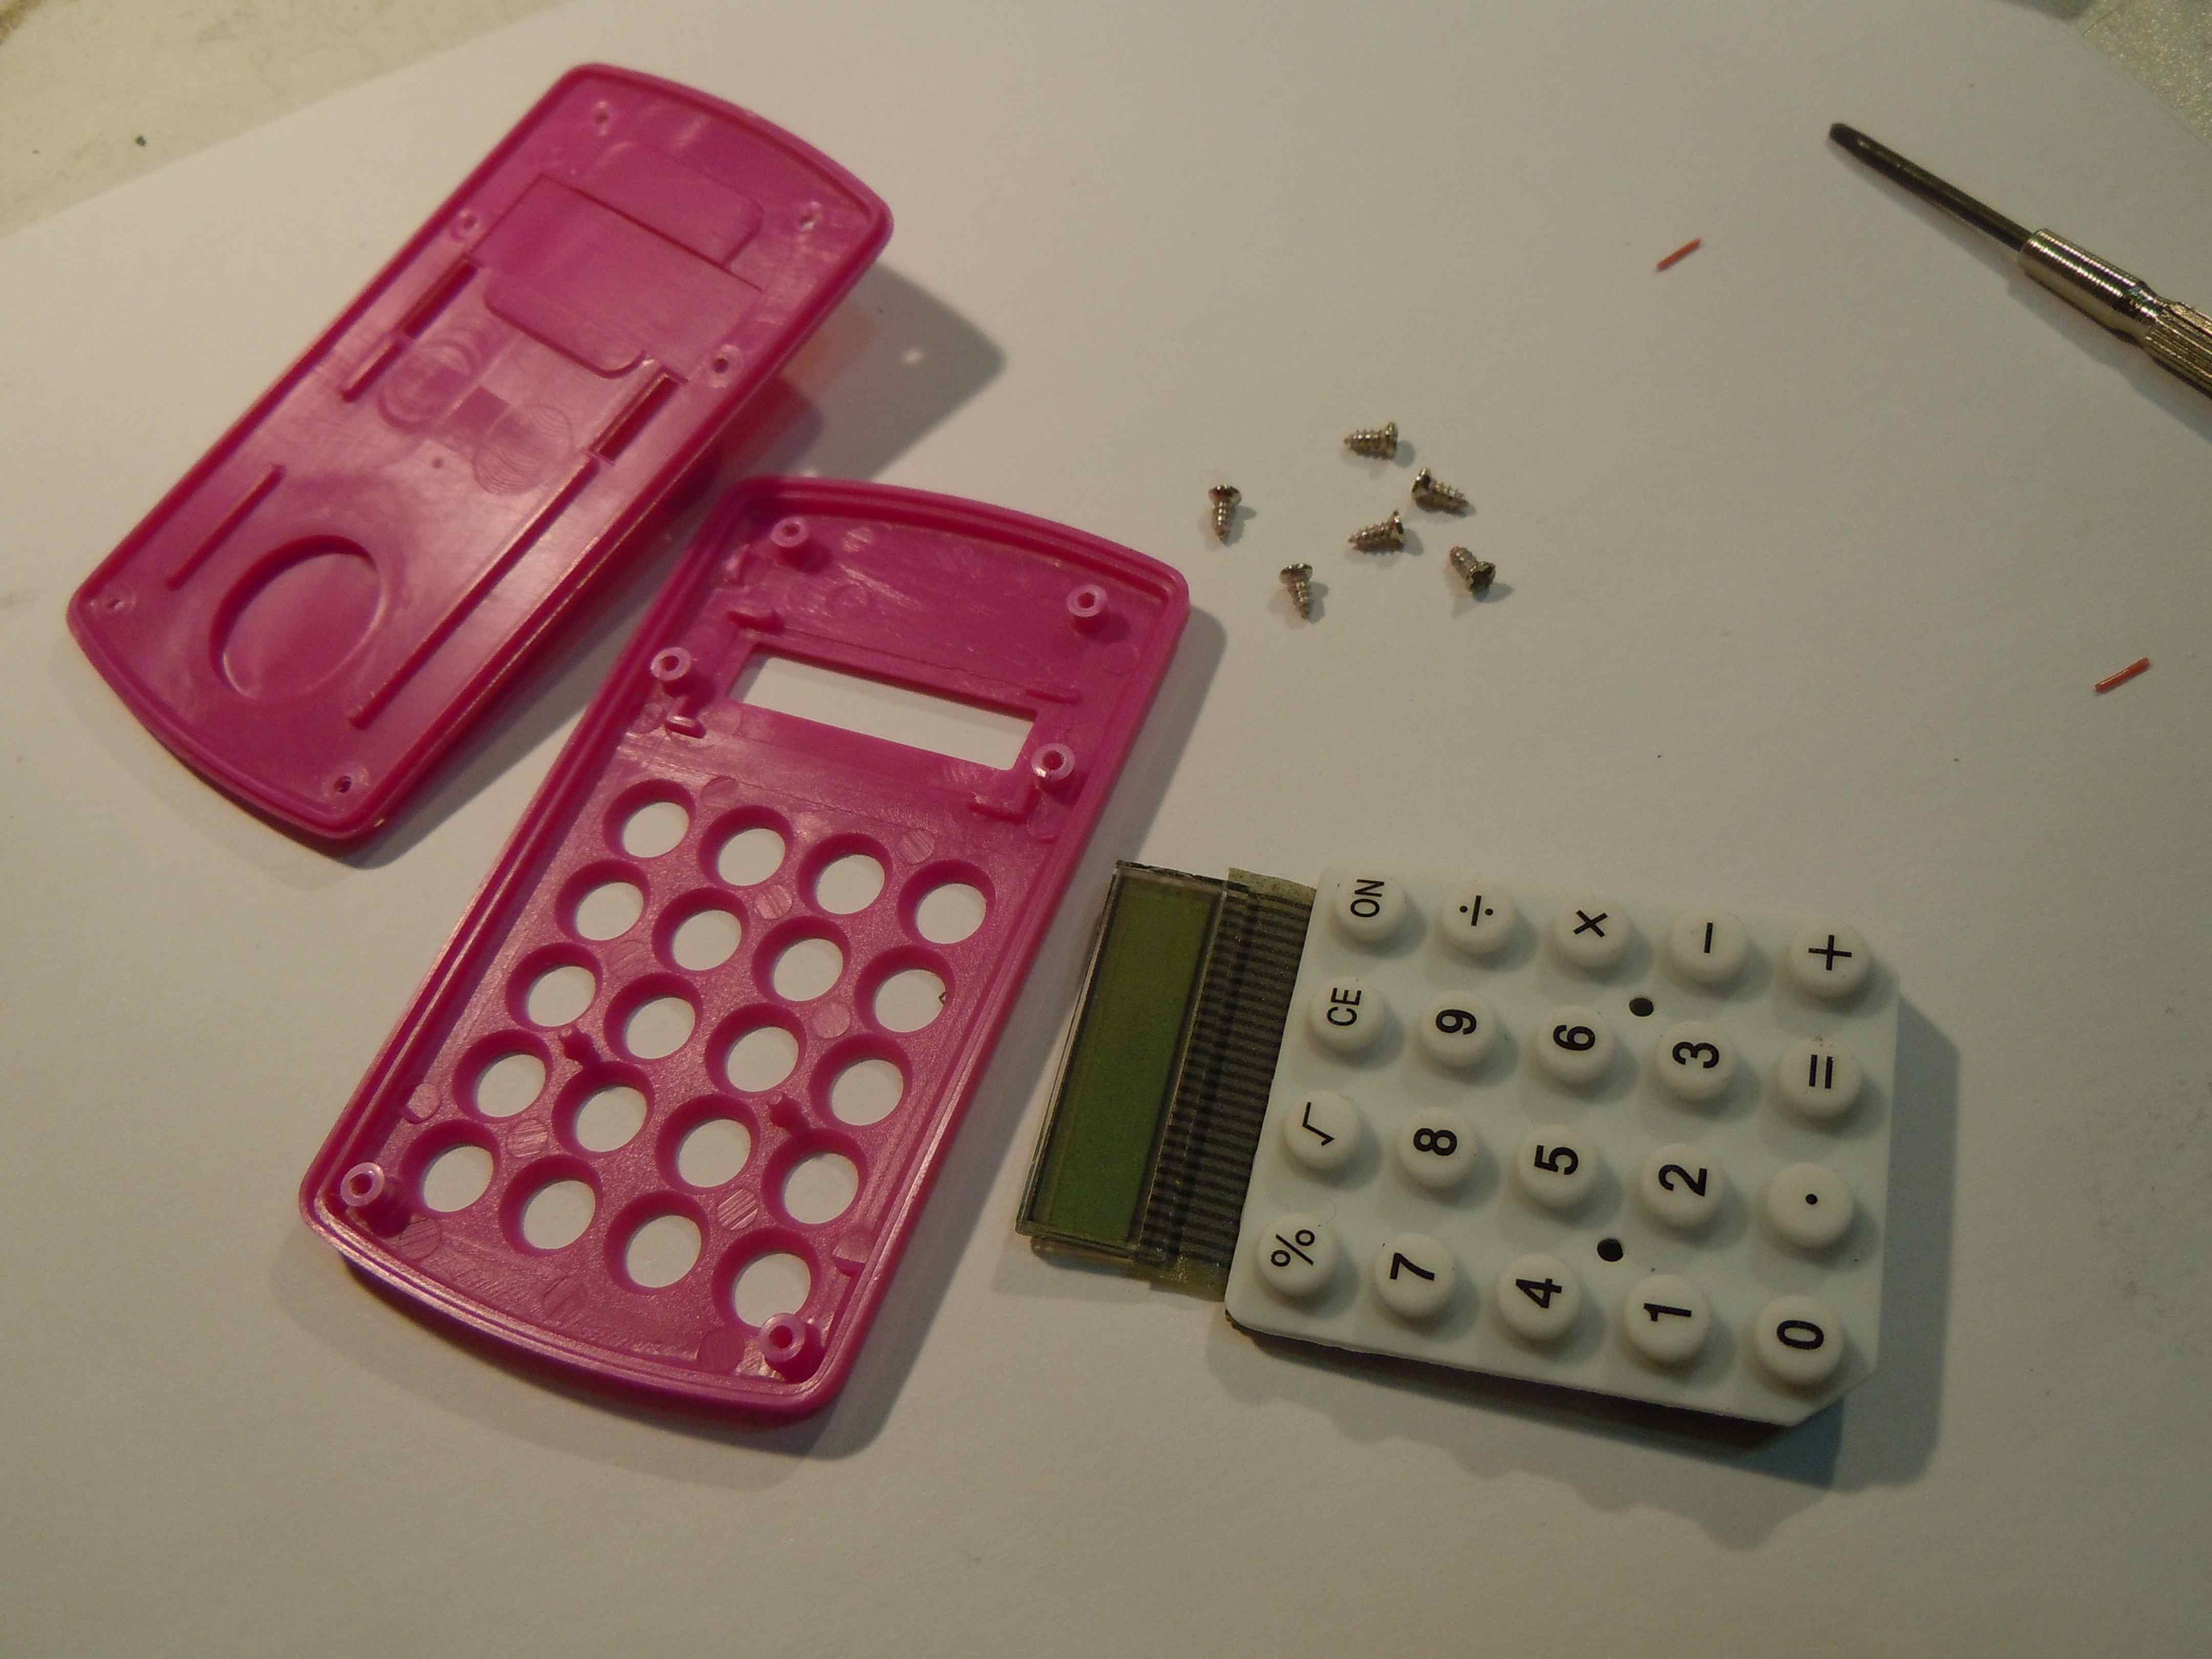
Today Rikka, my beloved wife, showed me some yarnmeters (way more professional than the one shown below) and told me that she would like to have such a device of her own. Who could resist such a plea? So we jumped in the car and went to the city to see if we could find some useful parts for the yarnmeter. :-) Most yarnmeters are purely mechanic devices featuring some kind of odometer directly connected to a rotating axle which has a wheel attached over which the yarn is run. This solution was too... too... ... too non-electronic. My first idea was to use a microcontroller connected to a VAX which could do the counting and generating lots of statistics and the like... No, I am kidding (but it would be a fun solution :-) ). My first idea was to use a cheap pocket calculator instead of the mechanical odometer. Most cheap (!) pocket calculators have the "feature" that the key sequence "1 + = = = = = = = =" will count in one's increments. So one can use any such calculator as a convenient counting device (which I did often as a child - I once even built a Geiger counter that "integrated" the pulses using this calculator "trick"). The following pictures show what we bought: A wheel for a model car (4.95 EUR), a reed contact for a burglar alarm (3.95 EUR), an aluminum bar (about 2 EUR) and a pocket calculator (1.95 EUR - incredible, isn't it? That's about as expensive as the battery without the calculator would be... Frightening!). And, by the way, no, my fingers are not THAT thick! The calculator is THAT small! It was a real challenge to connect it the the reed contact as you will see later. |
|
|
|
|
|
|
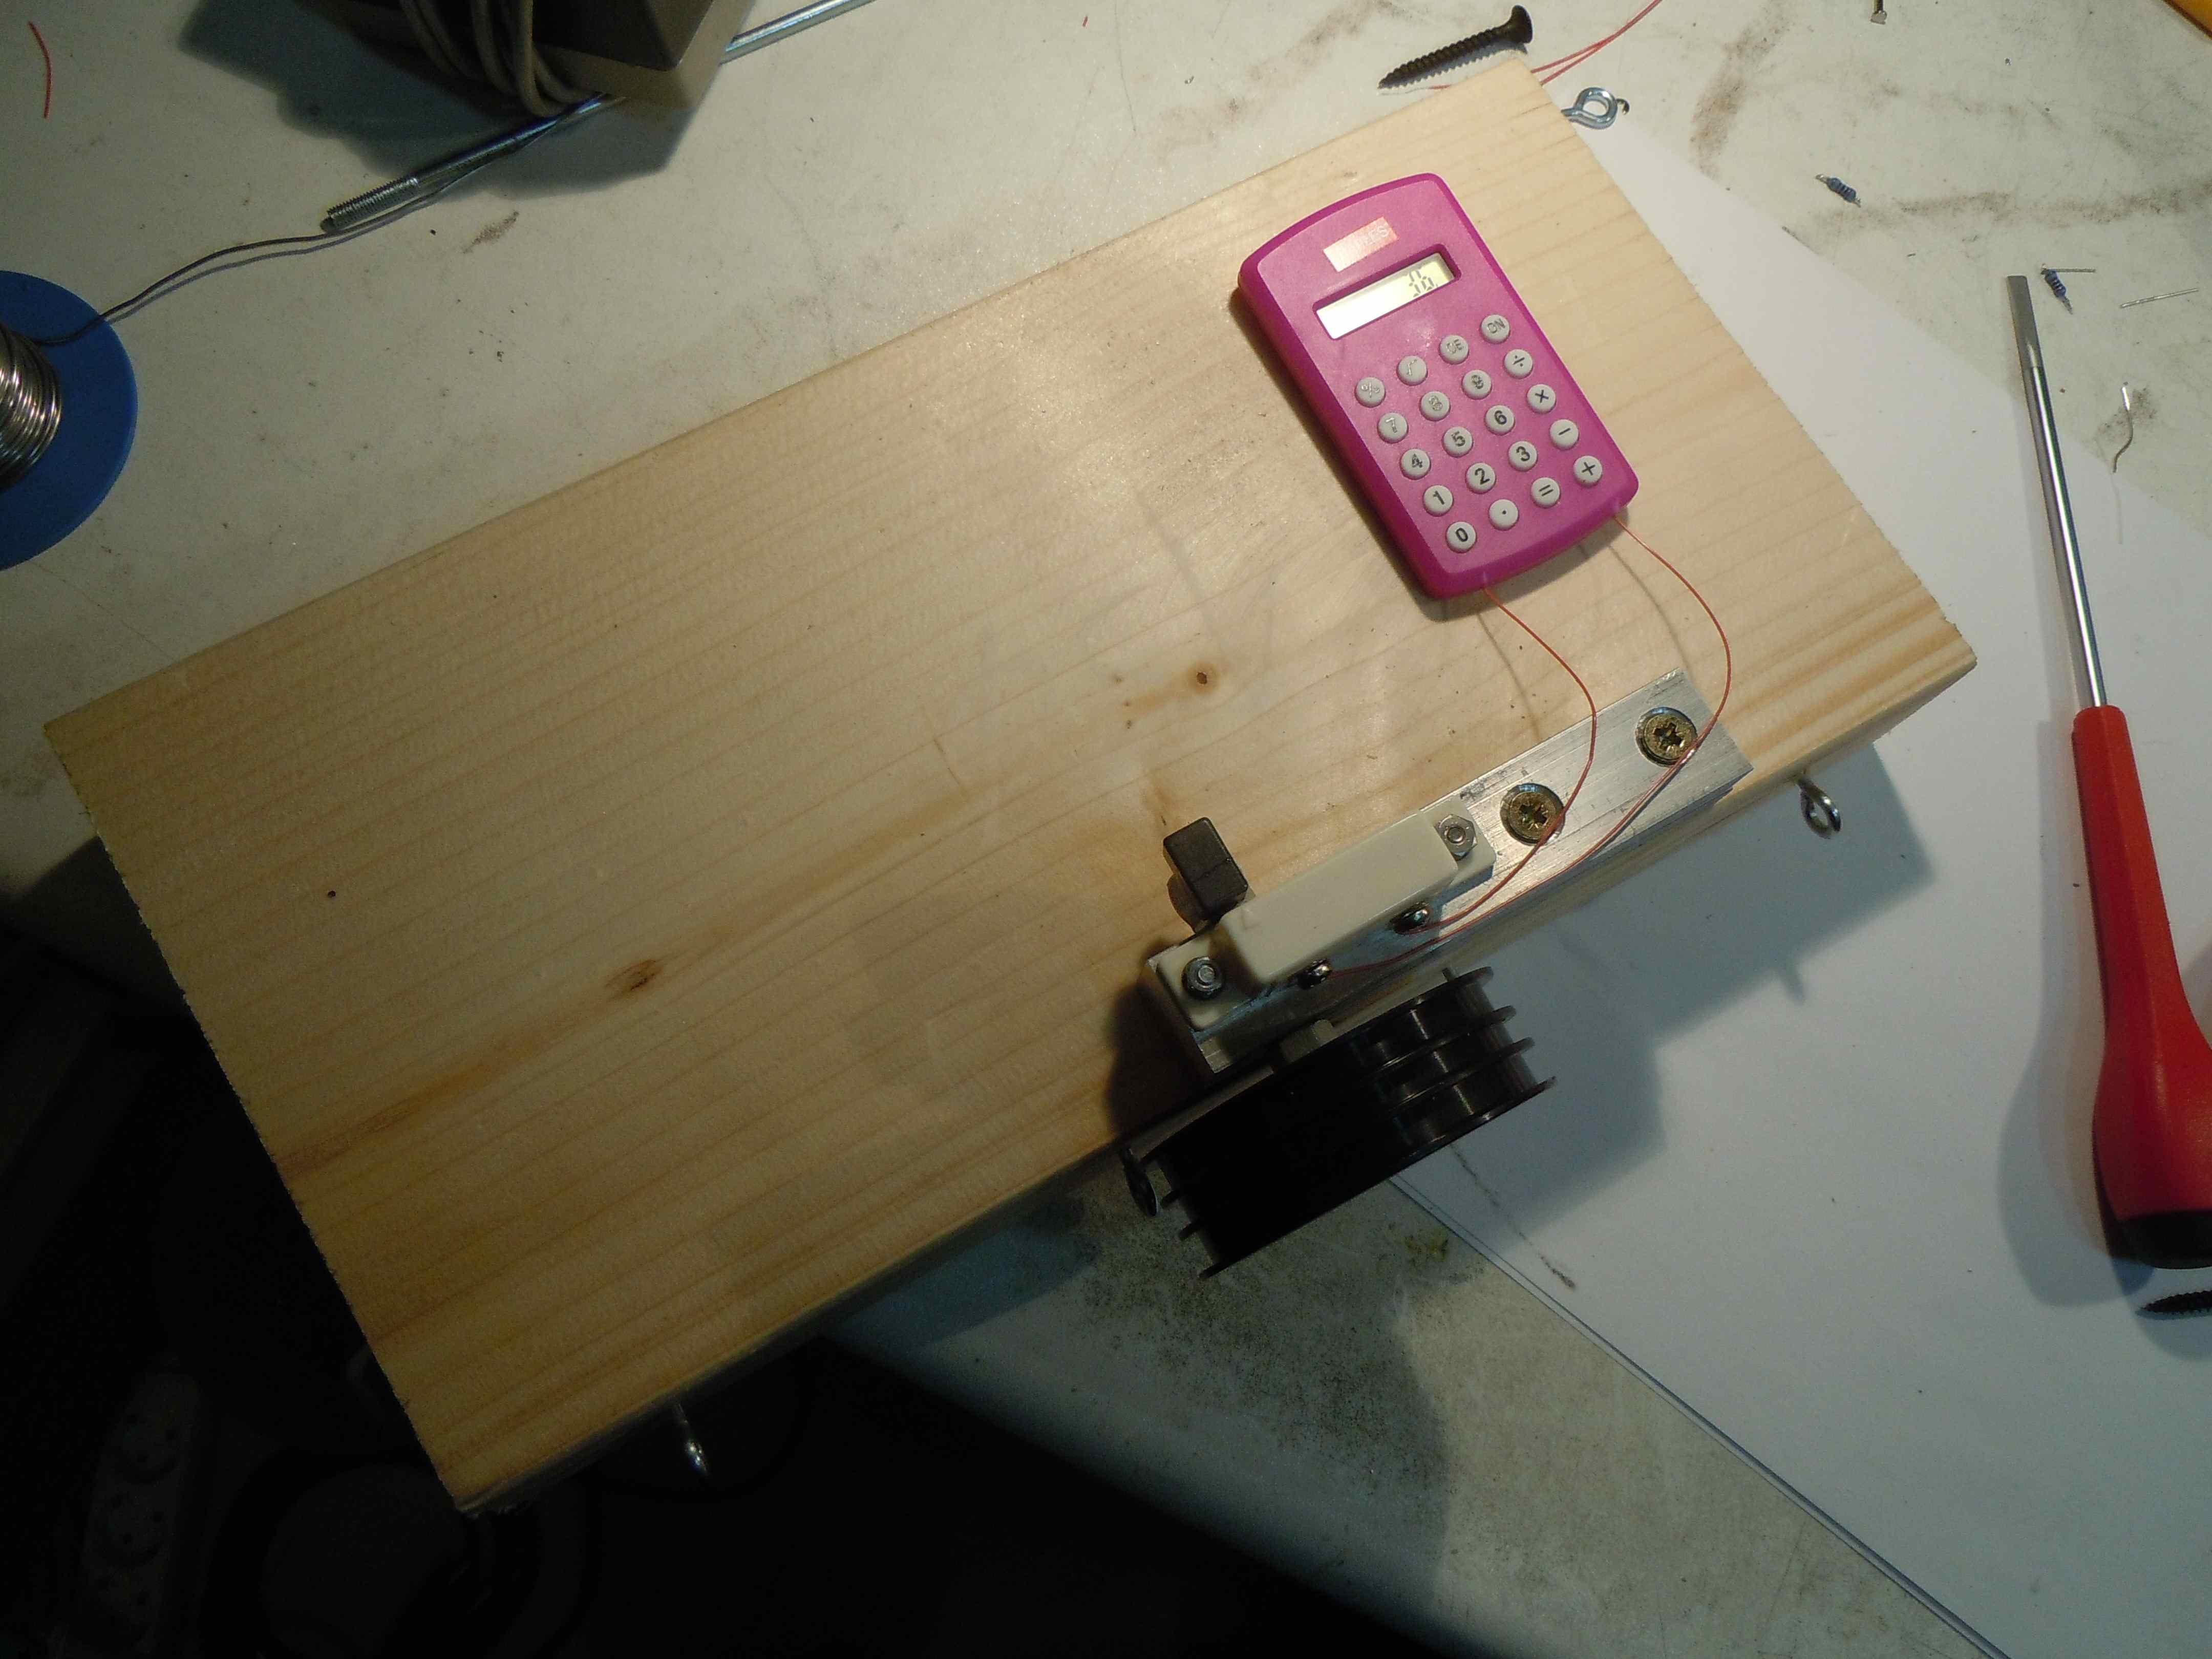
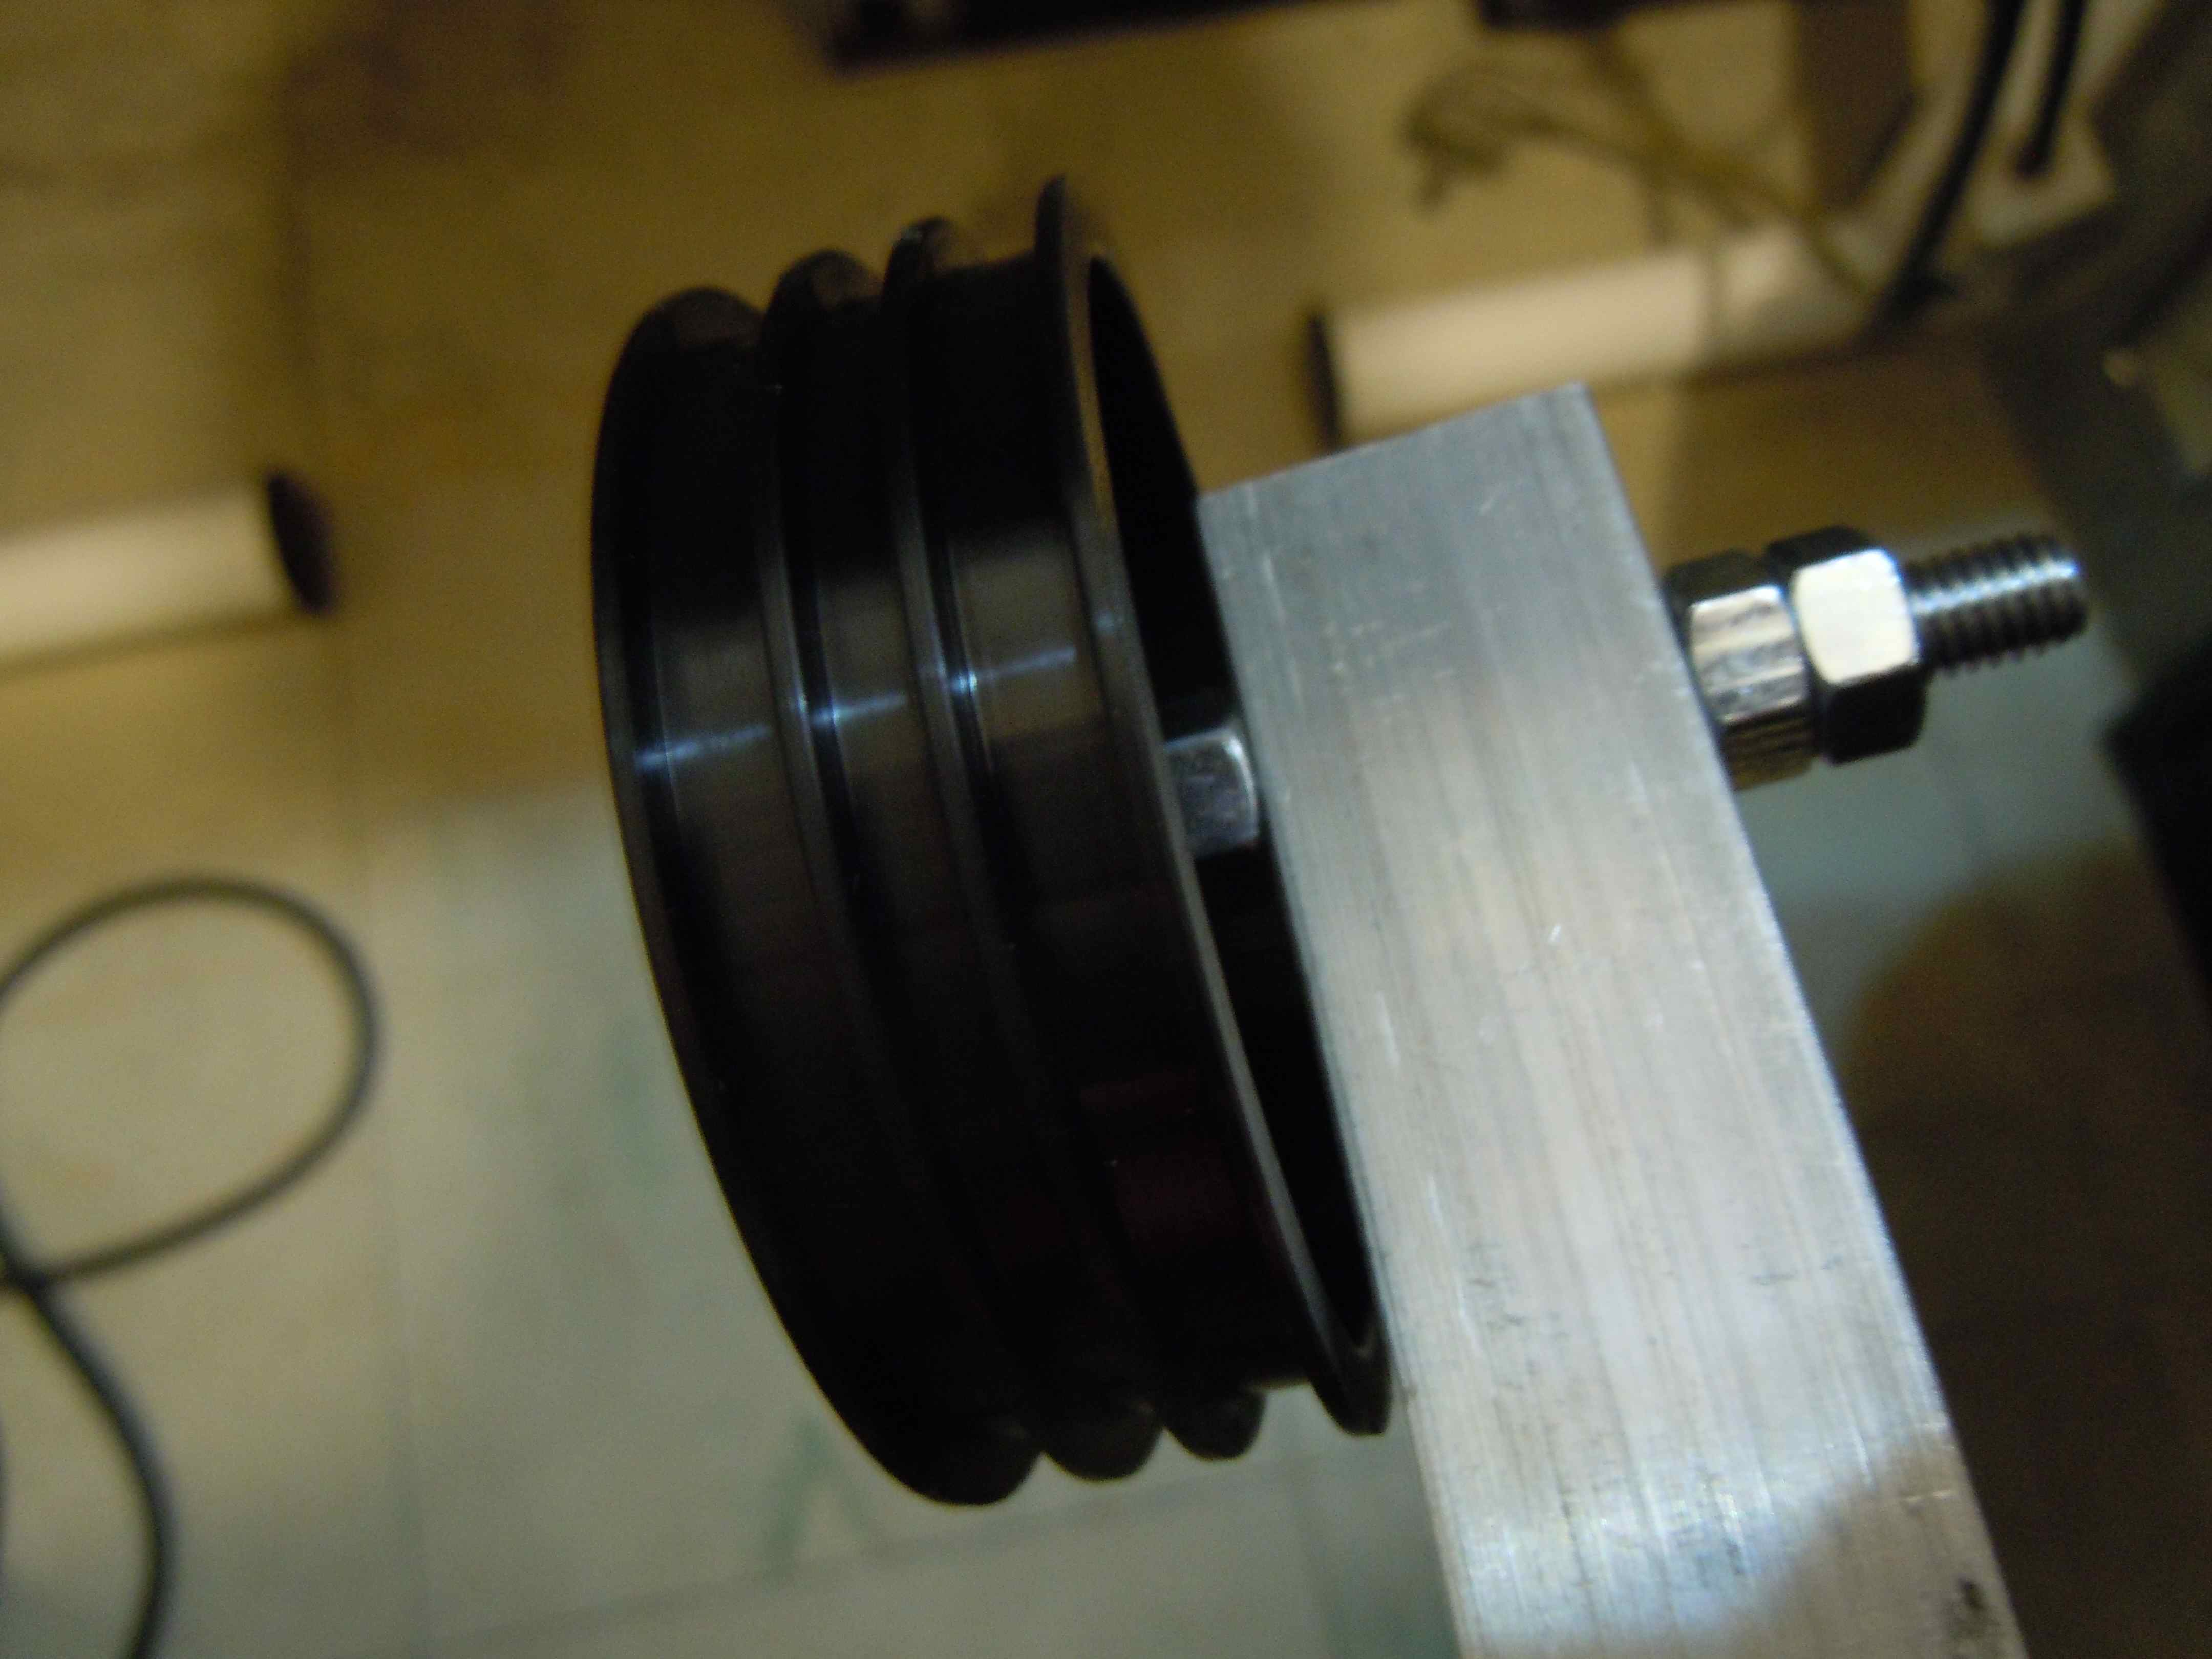
The two following pictures show the wheel mounted on its axle (just a long M6 screw which is fed through a hole drilled through the aluminum bar) and the mounted reed contact which is bolted to the very same aluminum bar. |
|
|

|
|
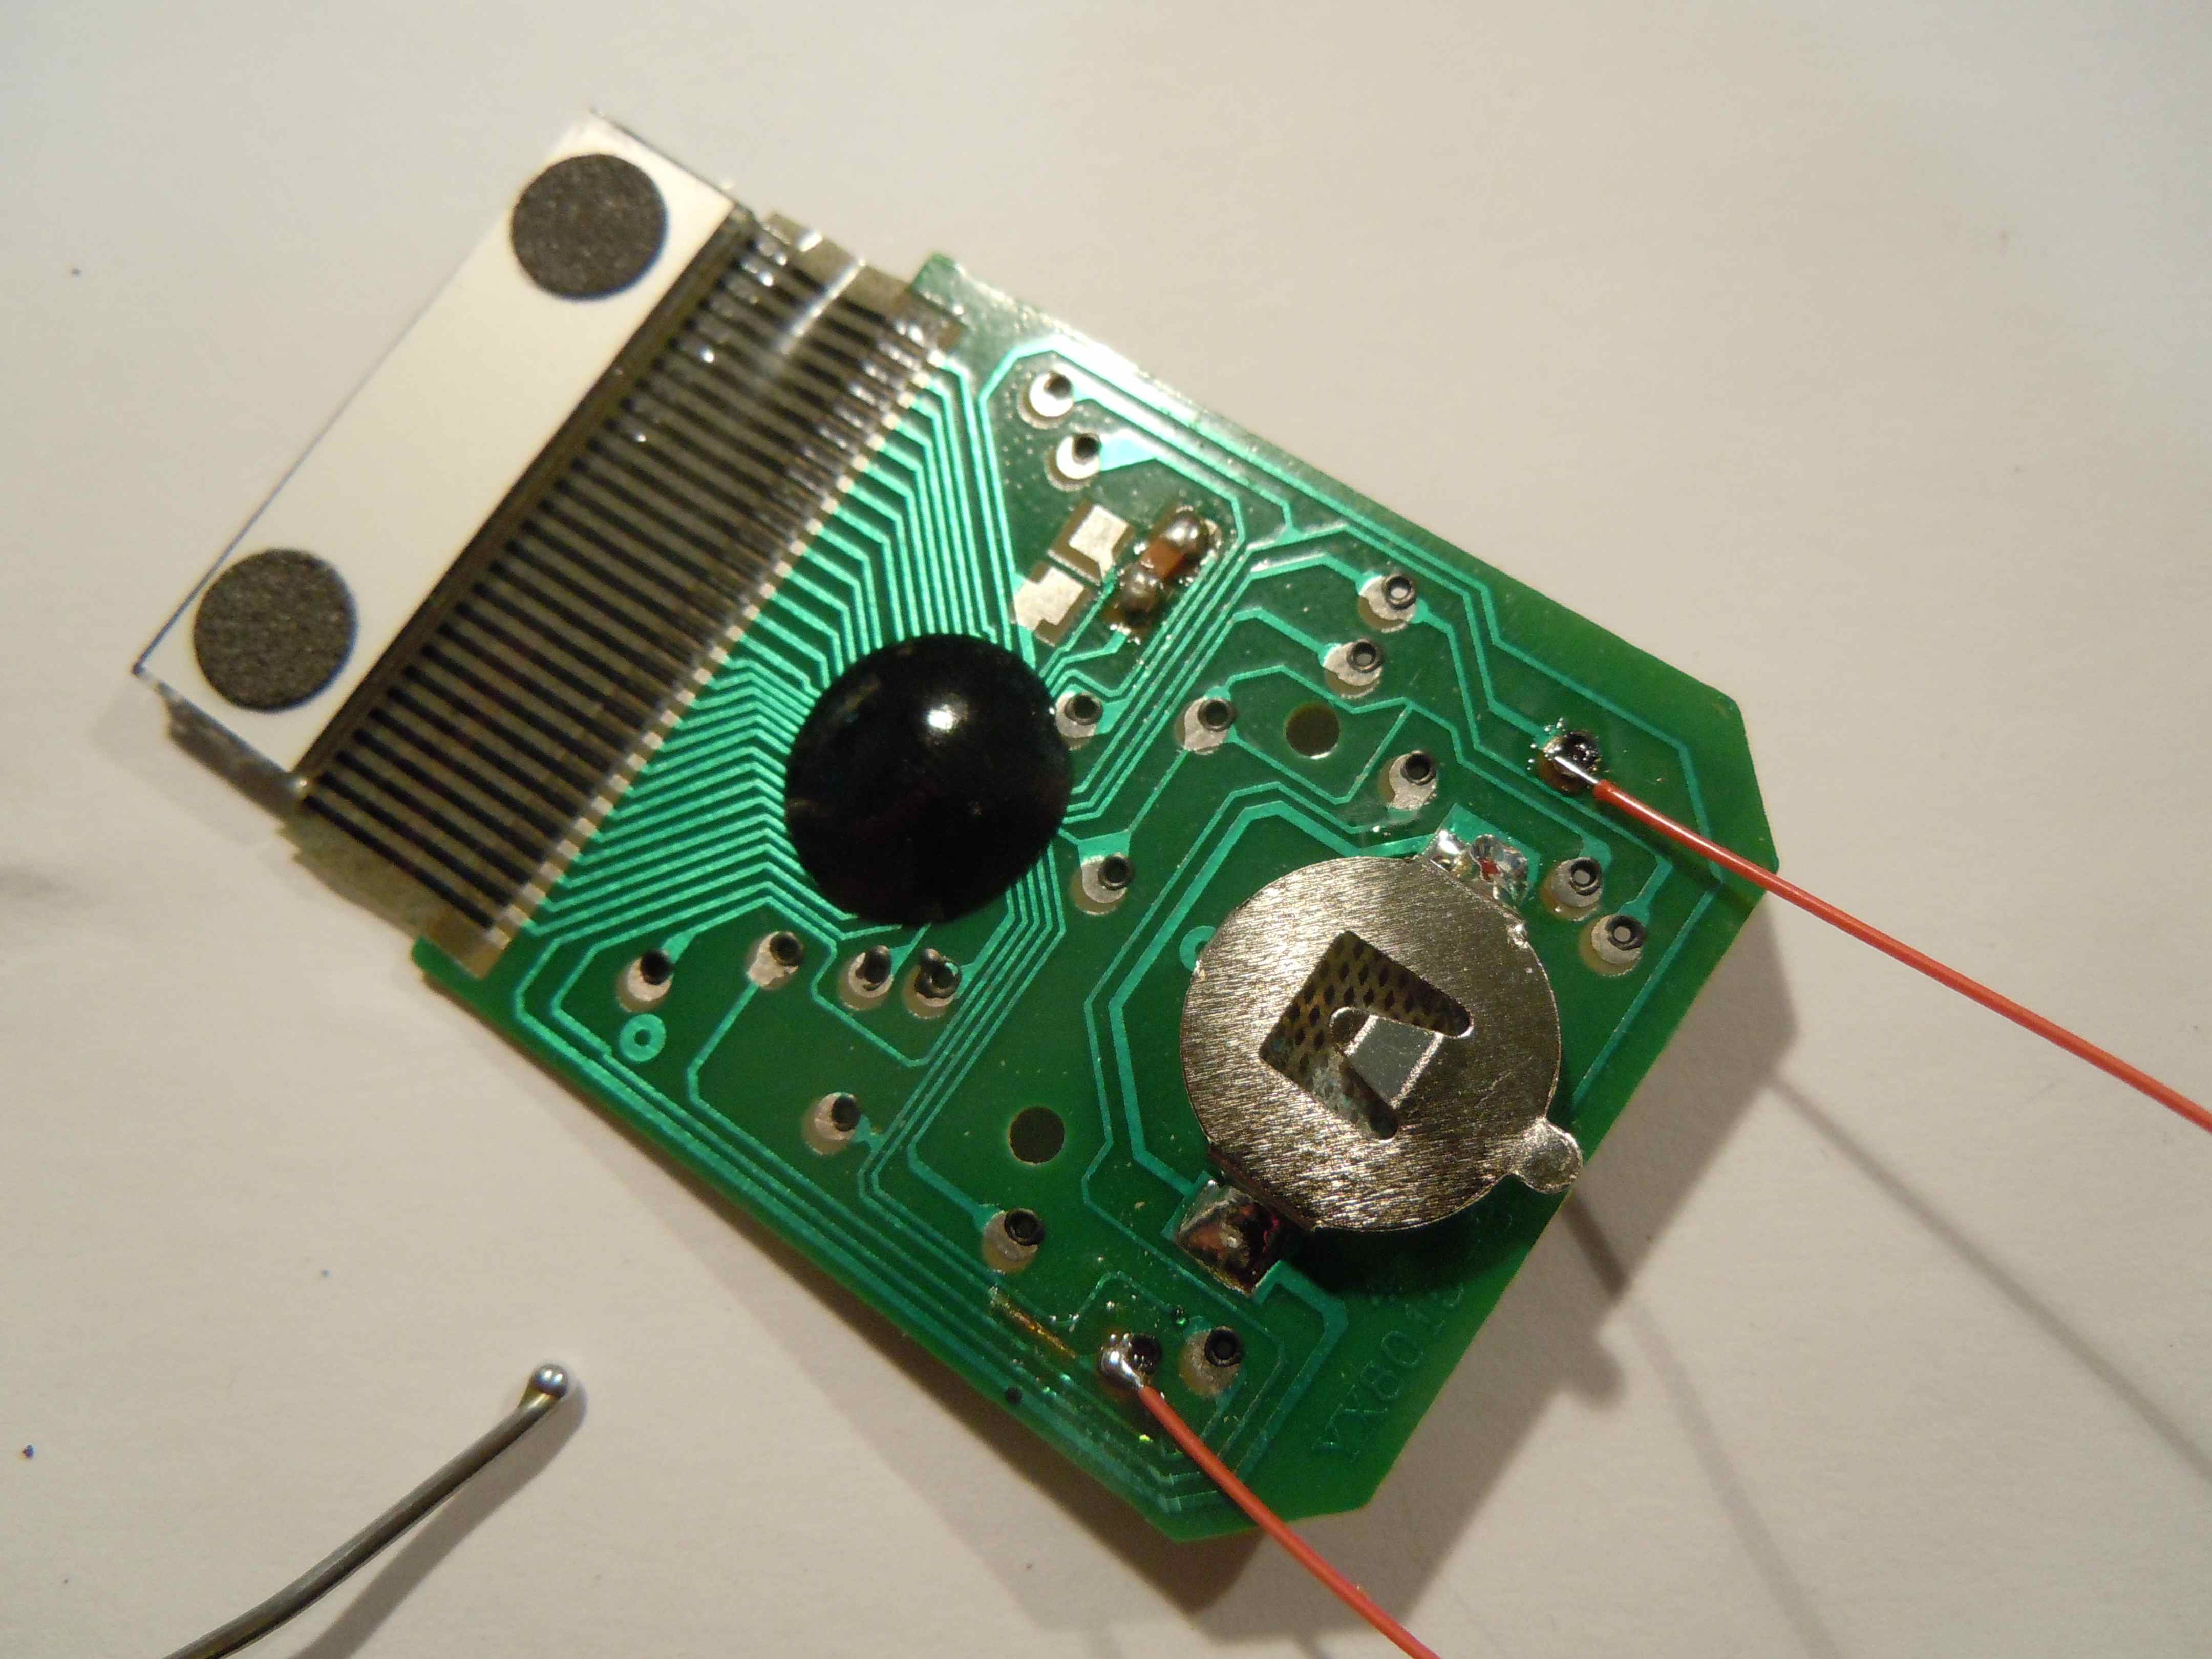
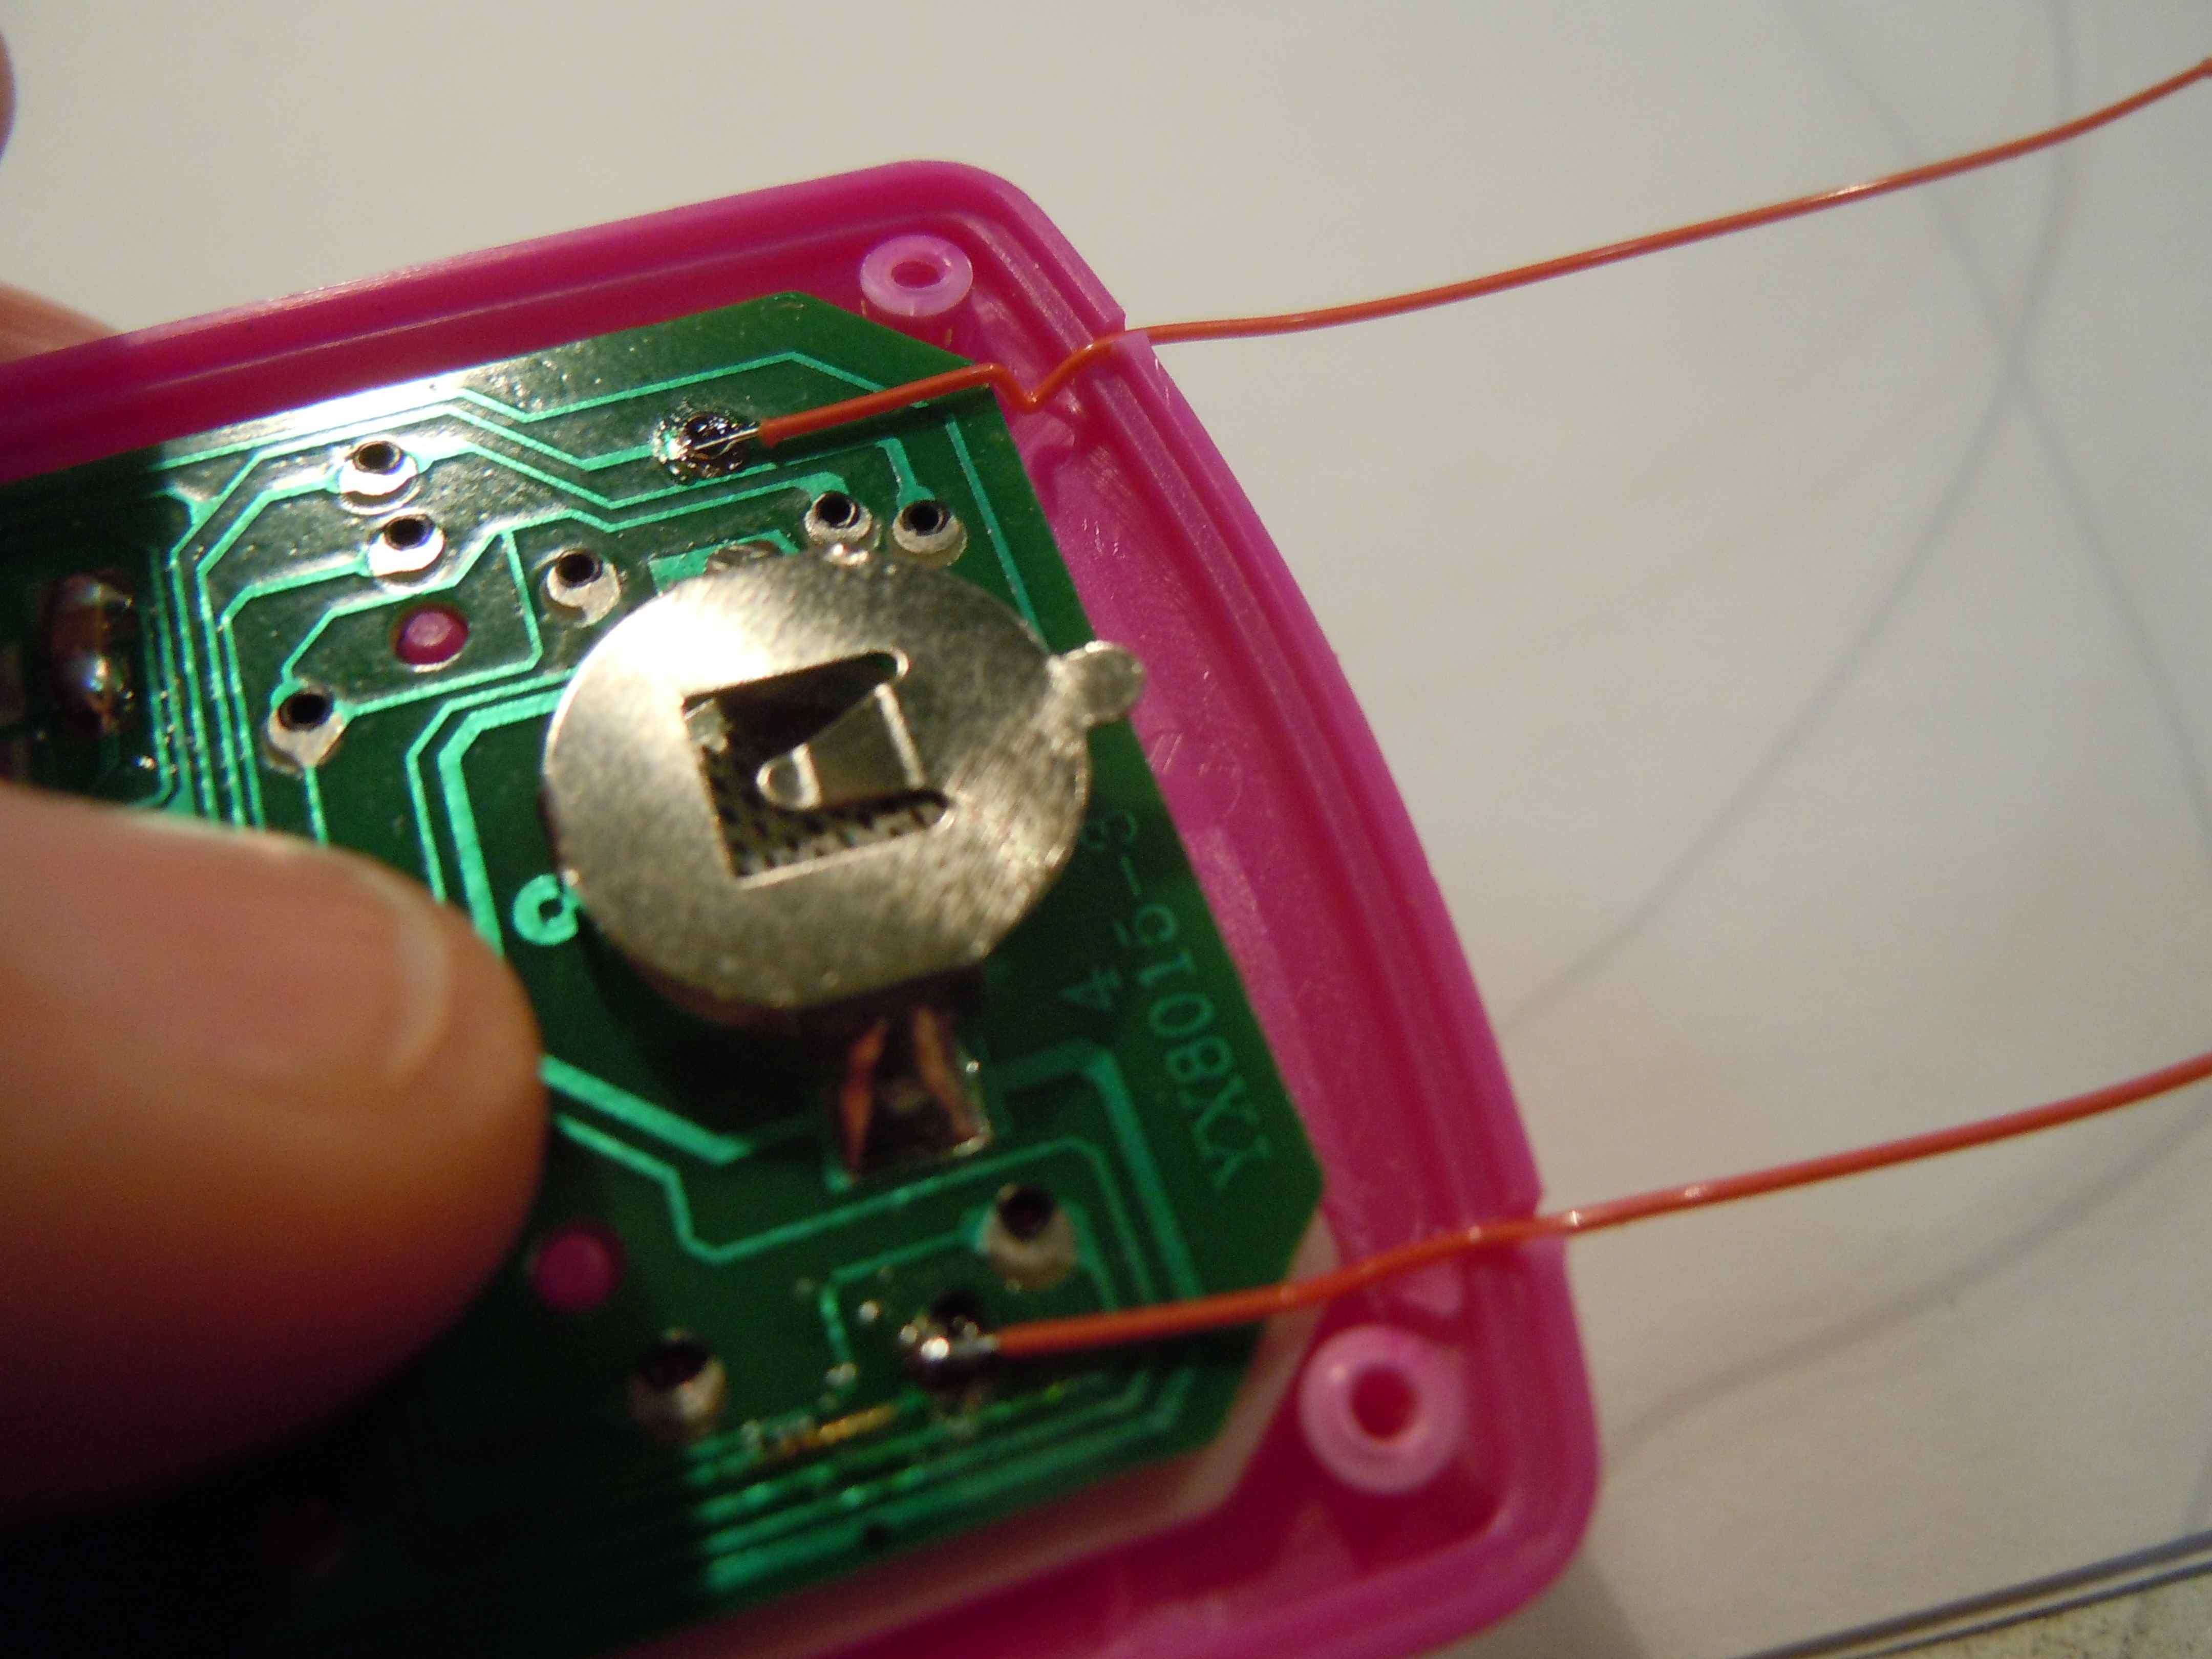
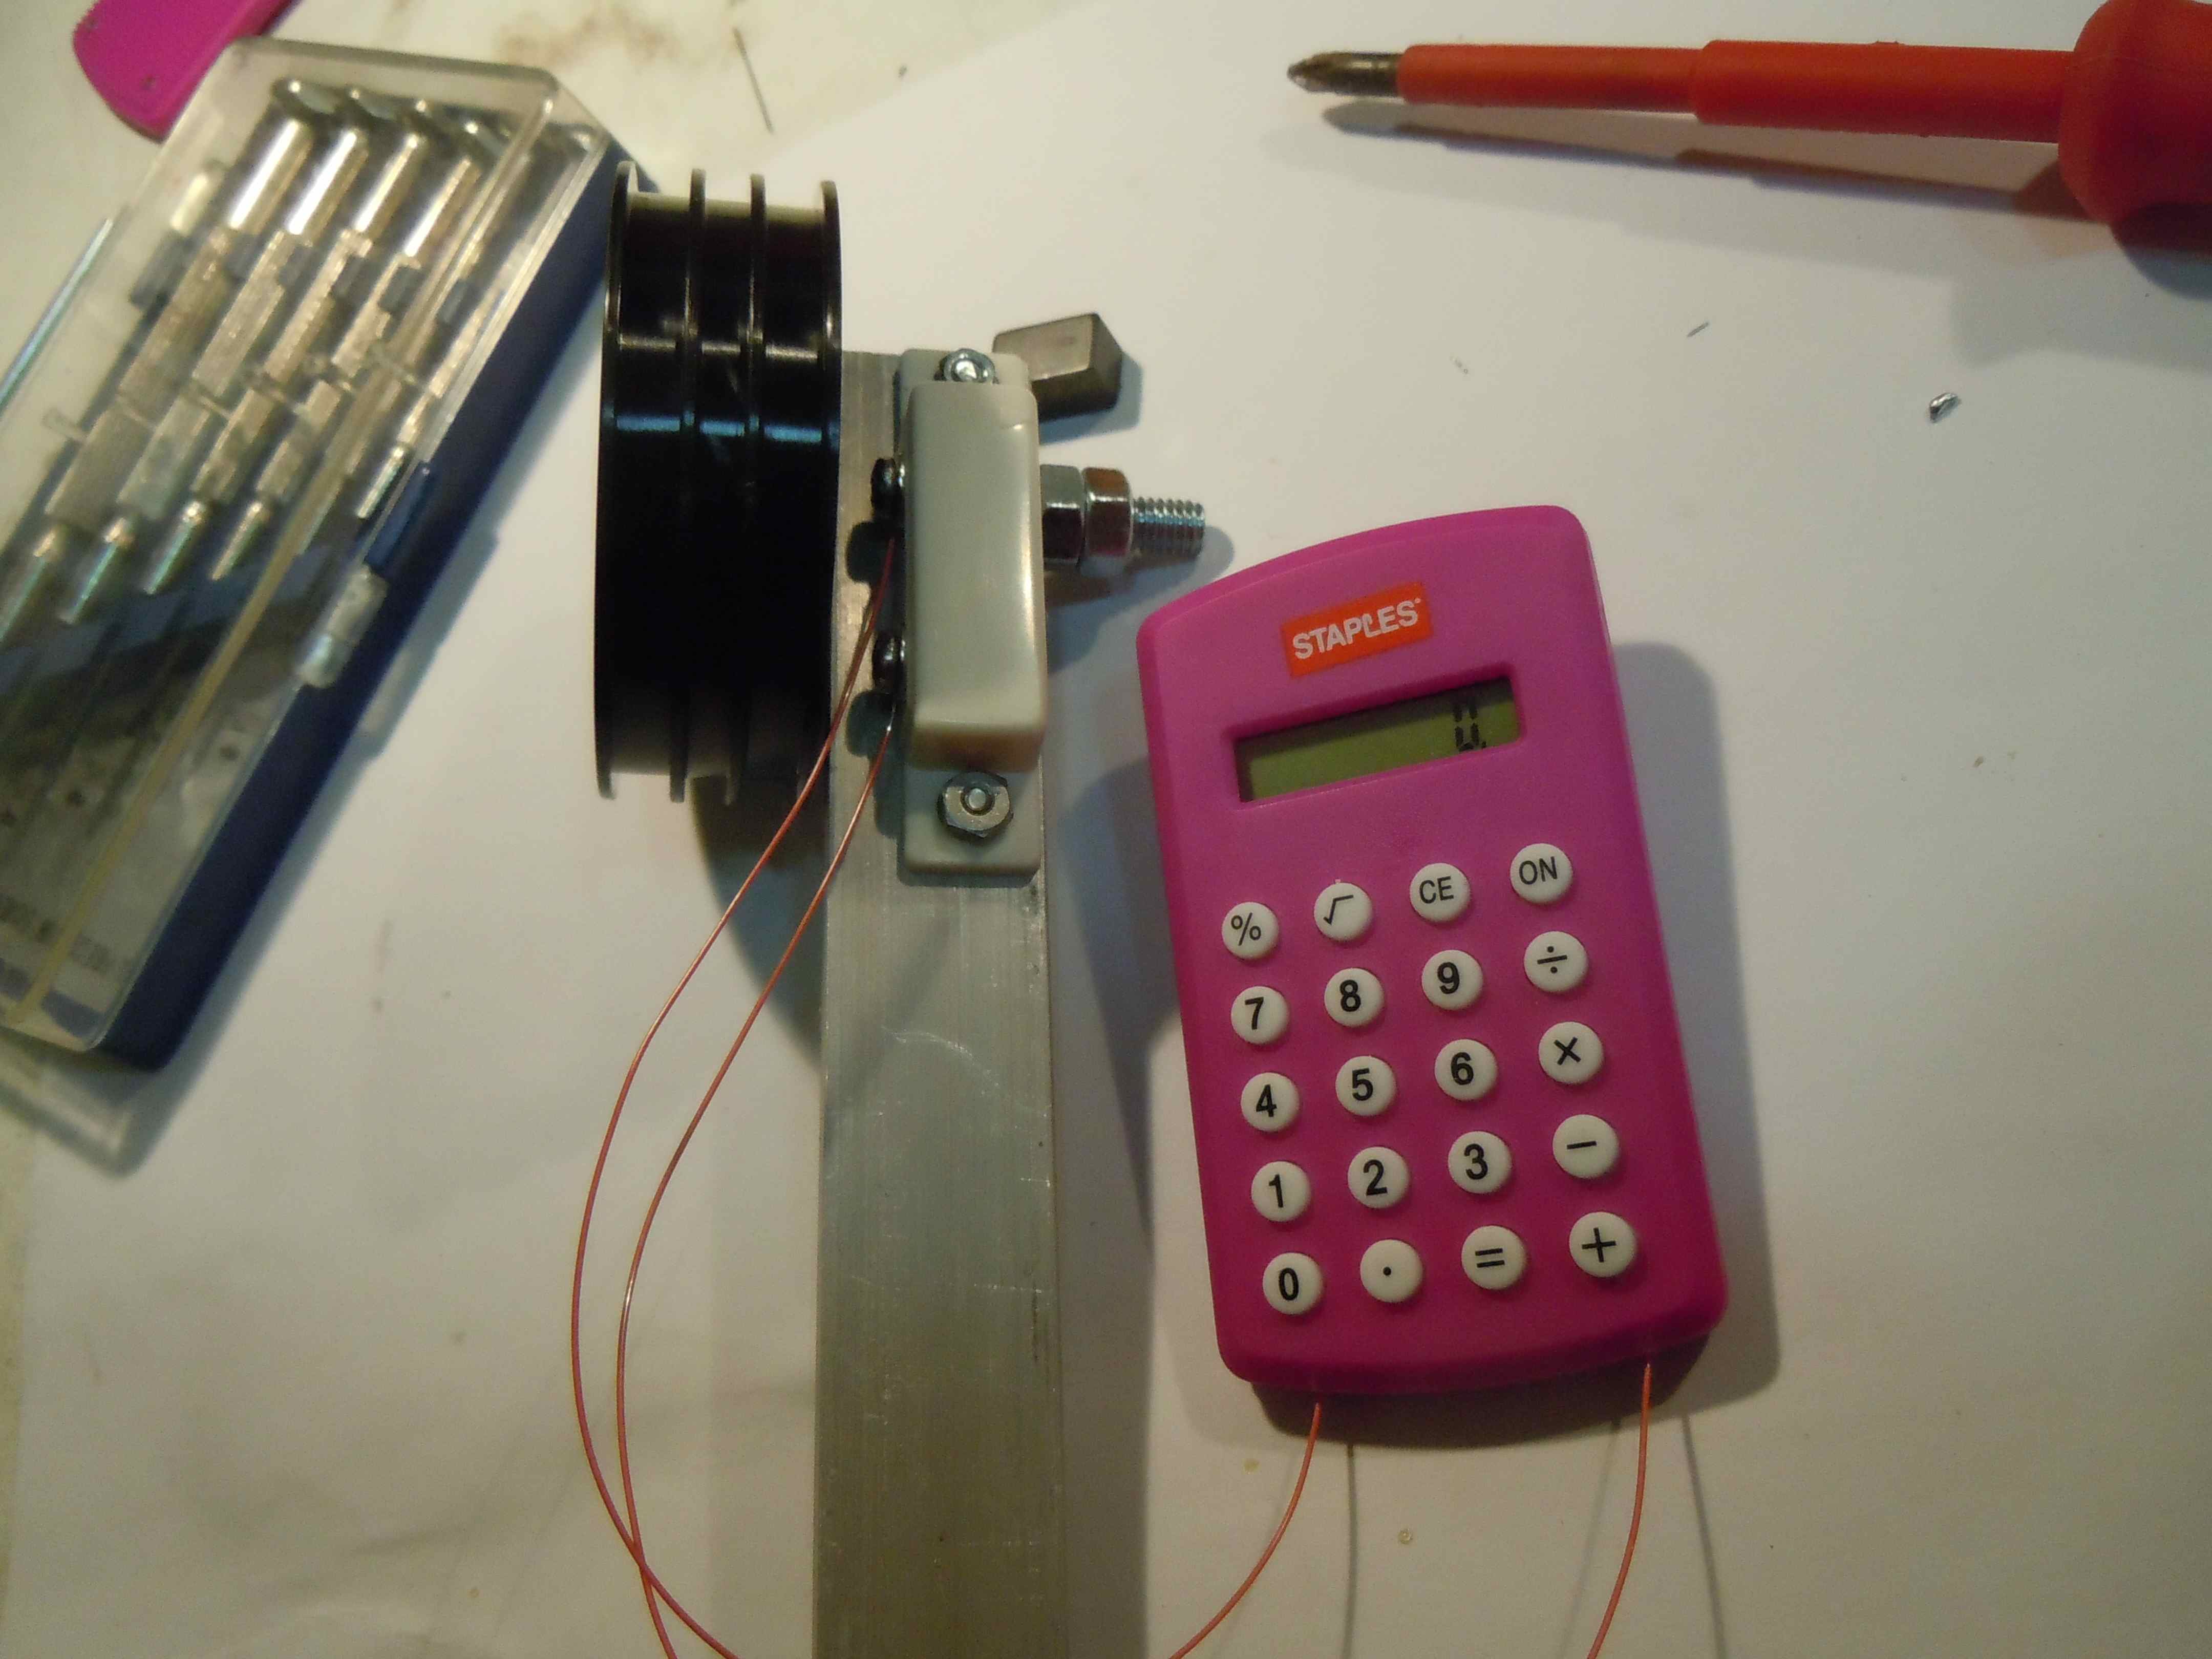
The following two pictures show the necessary modification to the small (incredibly tiny!) calculator. Since the reed contact will be used to trigger one increment per revolution, two wires connected in parallel to the "="-key are necessary. The wire used is wire-wrap-wire which is a bit stiff bit thin enough to feed through the slightly modified plastic enclosure to the outside. |
|
|
|
|
The last two pictures show the first test with the calculator connected to the reed contact which is triggered by a small bar magnet that has been glued to the axle of the wheel. The picture below right shows the completed yarnmeter. Have fun. :-) |
|
|
|